
However, now that I have knit some softies using Susan B Anderson's techniques (see previous blog post), I REALLY don't like to make patterns where you have to make each of the different pieces to be seamed together at some later time (Because, let's face it... sometimes later never comes!)
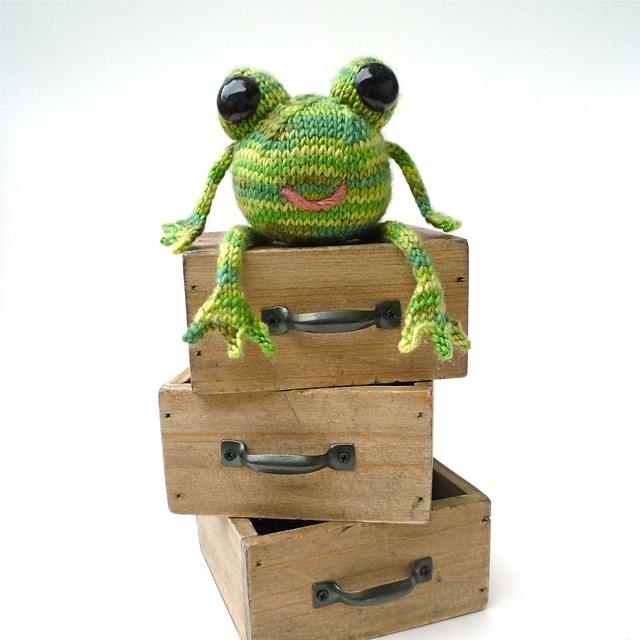
So, first I started with the frog body (which is basically just a squashed round shape), and after stuffing it and tidying up my ends, I picked up the required number of stitches the pattern indicates right on the side of the body where I wanted the arm to be placed (using 2 dpns, which I then transitioned to 1 dpn for the I-cord). This worked out fabulously, and I think added some strength and stability to the finished frog (which is important in a child's toy!) I repeated this process with the other arm, and both legs. The eyballs were a little trickier, just because I wanted them to have a slightly wider base. For each eyeball, I picked up the correct number of stitches in a triangle shape with three dpns, and this helped make sure that the eyeball didn't end up attached to body in a skinny/floppy sort of way.
I used 15 mm safety eyes, plus a judicious amount of stuffing in each eyeball... and TA-DAH! A finished froggie!
Frog Fronts:


Frog Back:

Since Mr. Frog is destined to be a gift (if I can keep him away from K2 and S4 - my code names for some of the little ones), I wanted to dress up his presentation with a project bag (froggie themed, of course). Using my favorite drawstring bag tutorial, I whipped up this little baby:


For more technical information, you can look on my Ravelry project page, here.
After completing Mr. Frog v.1.0, I decided to knit another one out of some variegated Cascase wool I had leftover from another project. This time I followed the pattern exactly as written, and knitted each piece to seam after completion. Thus... Mr. Frog v.2.0 was born!


I hope you enjoyed these little hoppers as much as I did :).
No comments:
Post a Comment